Knowledge base article
Create a WordPress cron task in cPanel
We can easily schedule WordPress cron using the Cron Jobs function in cPanel, this guide will teach you how!
Users may want to schedule WordPress cron tasks for daily or weekly intervals, whether it is to reduce application resource consumption during peak periods or to ensure certain tasks are completed at a specified time.
While wp-cron is enabled, WordPress will initiate wp-cron after most routine tasks (such as updating page content), this can have the undesired affect of unnecessary increased website load/resource consumption during peak traffic.
We recommend disabling WordPress automated wp-cron and scheduling a cron task for outside of peak traffic, for example daily at midnight. This approach helps users achieve more consistent resource consumption/load average during peak traffic and allows wp-cron to perform without disruption during off peak periods.
In this guide, we will teach you how to disable WordPress automated cron and schedule a WordPress cron task which will perform daily at midnight.
To complete this guide, please ensure you have:
- Your cPanel login details - These were included in the original Welcome to Serversaurus or IMPORTANT: Hosting Documentation email which you should find in your inbox, otherwise follow these instructions on how to update your cPanel password.
- SSH Access - Serversaurus relies on key based authentication to login via SSH/SFTP, if you haven't already, generate your SSH key pair and configure it in cPanel before proceeding with the next steps.
Let's begin!
- Open Terminal and SSH to your hosting server (update the below command with your SFTP login details):
ssh username@yourserver.serversaurus.com.au
- Change into your public_html directory:
cd public_html
- Open the wp-config.php file:
vi wp-config.php
- To disable WordPress' automated cron, add the following text to the end of your wp-config.php file, you can insert the text by typing i to enter insert mode, then paste the text below:
define('DISABLE_WP_CRON', true);To save your changes, press esc followed by :wq!
- Now let's create the WordPress cron schedule within cPanel. Login to cPanel and use the search bar to locate the Cron Jobs function.
Scroll down to the Add New Cron Job section and select Once Per Day option from the Common Settings down down menu.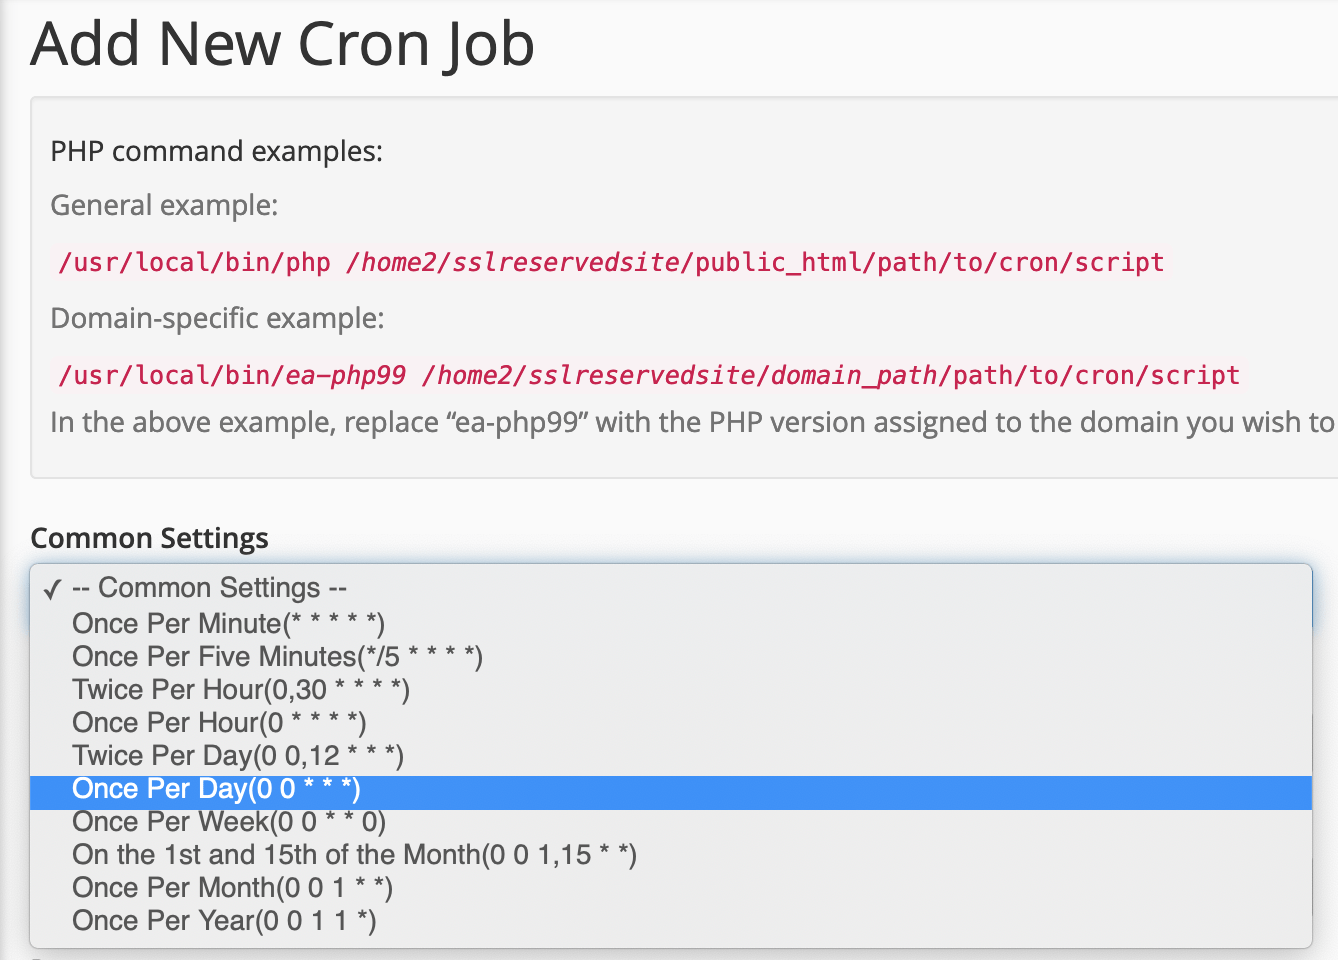
The form will auto fill the schedule based on your selection.
Enter the below string into the Command section, be sure to replace yourdomain.com with your domain name:wget -q -O - https://yourdomain.com/wp-cron.php?doing_wp_cron >/dev/null 2>&1
Select Create New Cron Job to save.
Last updated November 30, 2023