Knowledge base article
Create a WordPress administrator via phpMyAdmin
This article will teach you how to create a WordPress user with administrator privileges using phpMyAdmin in cPanel
Sometimes you may have lost access to WordPress admin or you're working on a website where the client has lost their administrator access. This cheeky hack will teach you how to create a WordPress user with administrator privileges using phpMyAdmin.
To follow this guide you need your cPanel login credentials. If you have forgotten your cPanel credentials, they were included in the original Welcome to Serversaurus or IMPORTANT: Hosting Documentation email which you should find in your inbox, otherwise follow these instructions on how to update your cPanel password.
- Login in to your cPanel account and navigate to phpMyAdmin
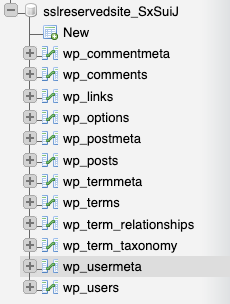
- Select the database from the list on the left hand side of phpMyAdmin's web interface
If you don't know which database is correct, check the wp-config.php file for the website and locate the database name next to DB_NAME. - Select the table wp_users
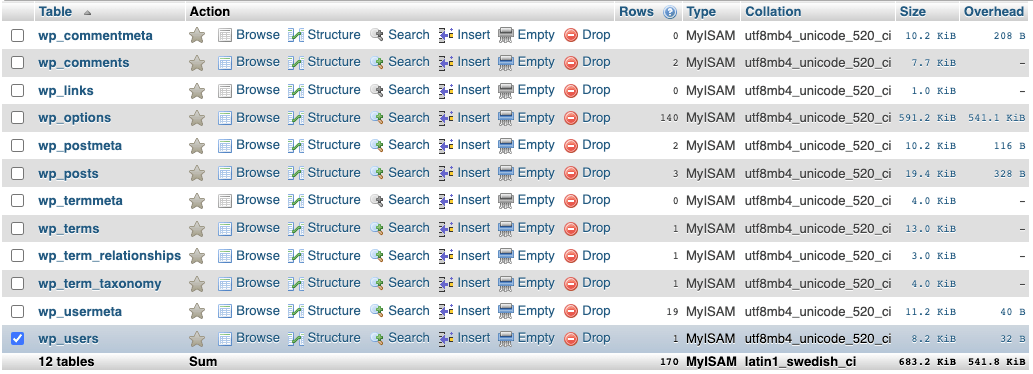
- Select Copy next to a user table

- Update the columns labelled user_login, user_nicename, user_email and display_name to your preferred WordPress username details and email address. Once you have completed your changes, select Go
- To assign the new user administrative privileges, reference the ID of the new user and keep the user ID on hand for the following steps. In the below example, the new users ID is 2

- Change in to the wp_usermeta table by selecting wp_usermeta from the left hand side index
- Find a row which has a meta_key with the value wp_capabilities and the meta_value as a:1:{s:13:"administrator";b:1;}, select Copy
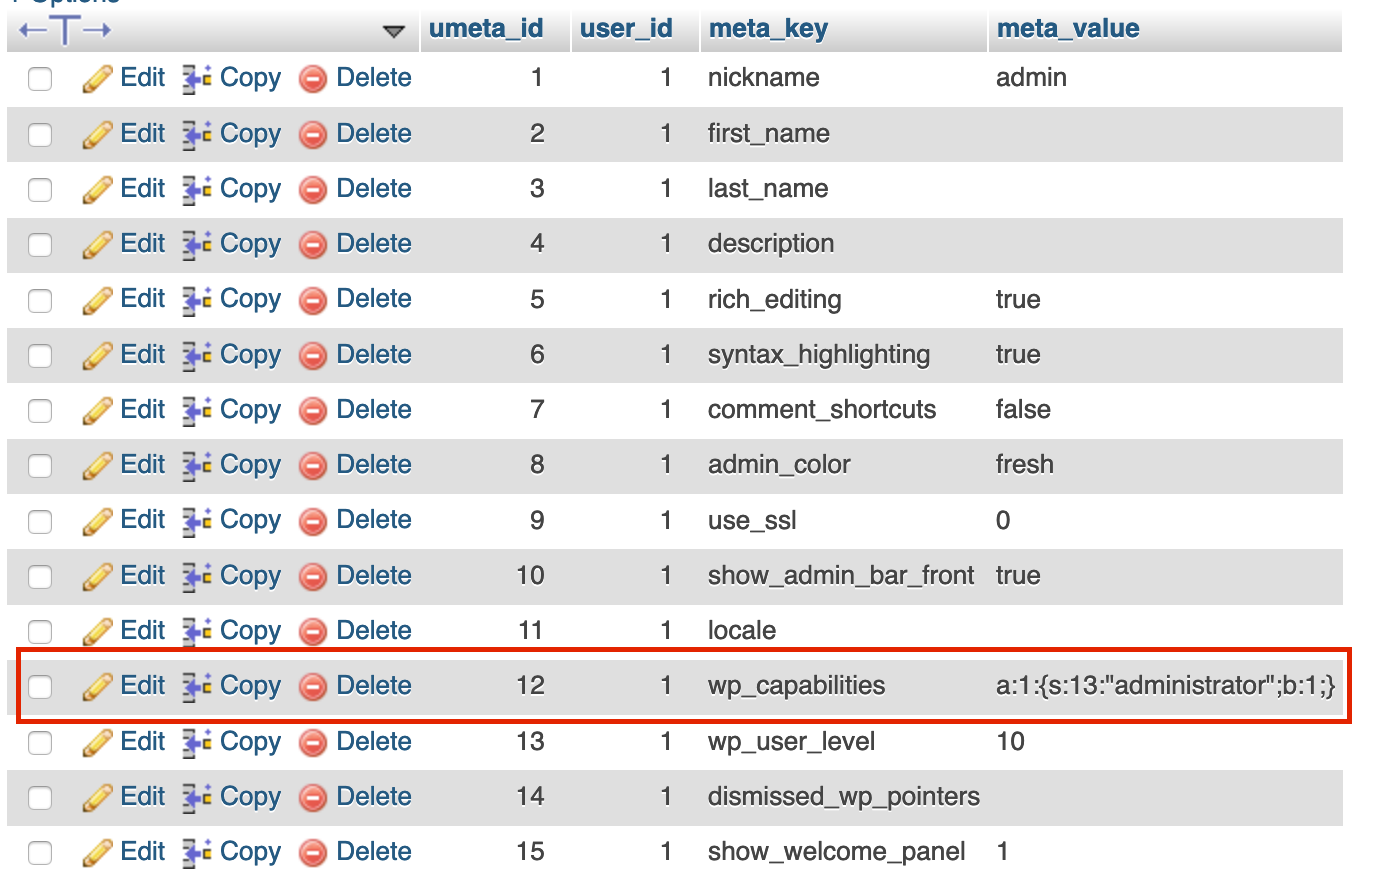
- Update the user_id column with the ID of your new WordPress user and select Go!
- To set the password for the new user, navigate to /wp-admin and request a password reset. Once that step is complete, you can login and manage the website with your new WordPress administrator!
Last updated November 30, 2023