Knowledge base article
Install WordPress via SSH
This article will walk you through installing WordPress manually using the command line and shared cPanel hosting
Please note that this article is advising the steps for Mac/Linux users. If you do not have Terminal or alternative command line interface on your computer, please use the Terminal function in cPanel, in which case you can skip to step number 2.
- Open Terminal and ssh onto your hosting server. If you are unaware of your FTP details, please reference the original Welcome to Serversaurus email which includes all relevant FTP details (note, your FTP details are the same as your cPanel credentials) or alternatively find out how to update your FTP/cPanel credentials.
- In Terminal replace the username and server info with your own
ssh user@yourserver.serversaurus.com.au
Press Enter and type your password when prompted.
- Change into the directory you would like to install WordPress under, if the WordPress installation is for your primary website this would be public_html. To change into your public_html directory type and enter:
cd public_html
Or if you are installing WordPress on a addon domain, navigate to the addon domain's home directory using the below command:
cd yourdomainname.com - Using the wget command, we will download WordPress into our current directory.
wget http://wordpress.org/latest.tar.gz - Now to extract the contents of the latest.tar.gz file type the command:
tar xfz latest.tar.gz - Use the command ls -l to view the content under your current directory, you will be able to see that there is now a directory called wordpress under your current directory. Lets move that directories contents into our current directory, to do this issue the below command:
mv wordpress/* ./ - Now lets tidy up after ourselves, we no longer need the 'WordPress' directory or the latest.tar.gz file, to remove these items, issue the following command:
rm -rf latest.tar.gz ./wordpress/ - Next, we need to create a database and a user that we can then associate with one another. To do so login to cPanel, then use the search function to navigate to MySQL Databases. NOTE: Remember to keep your MySQL database and user information recorded for later reference.
- Create the new database; Nominate your preferred name and select Create Database
- Scroll down until you see Add New User, fill out the form with your preferred username, then assign a password to that user. Make sure to copy that password and save it on your computers notepad or text editor.
- Once you have created the new user, scroll down the page until you see Add User To Database
- Select your newly created user and then select the new database, to save these settings select the Add button below.
- On the next page you will see Manage User Privileges, select the checkbox next to ALL PRIVILEGES then select Make Changes at the bottom of the page.
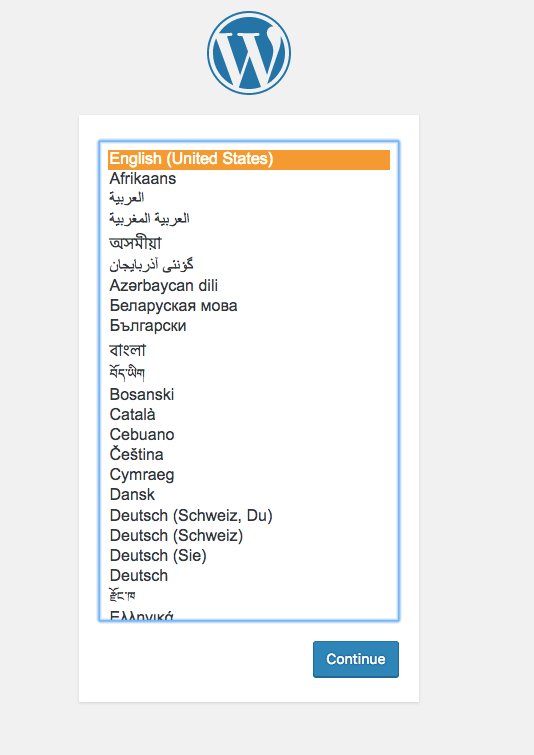
- Now you can go to your domain name, and see a WordPress configuration window (see screenshot below). Follow the configuration prompts with your desired settings.
- Complete the configuration steps to finalise your WordPress install! You can now login to WordPress dashboard via https://yourdomain.com/wp-admin with your nominated login credentials.
Last updated November 30, 2023