Knowledge base article
Using the Serversaurus Cloud CDN with your WordPress website
This article teach you how to configure WordPress to use the Serversaurus Cloud CDN using W3 Total Cache
Creating the CDN
Where appropriate, substitute example.org for the actual URL of your WordPress website.
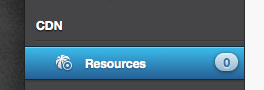
- Login to the Serversaurus Cloud Dashboard and proceed to the CDN Resources page
- Select CDN Resource Wizard
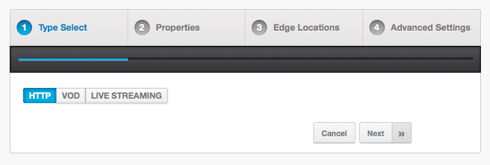
- On the proceeding screen, you will want to select HTTP as the CDN Type, and press Next
- You will now need to fill in the CDN Hostname and Origins
CDN Hostname - enter a hostname that you want your CDN to be accessible at. It doesn't need to be real - an alternate will be provided.
Origins - type in the domain name that you usually access your website at.
Content Origin - select PULL in this case.
Note on SSL - you may use HTTPS/SSL using Let's Encrypt SSL for a custom hostname or a shared (yourdomain.r.worldssl.net) hostname.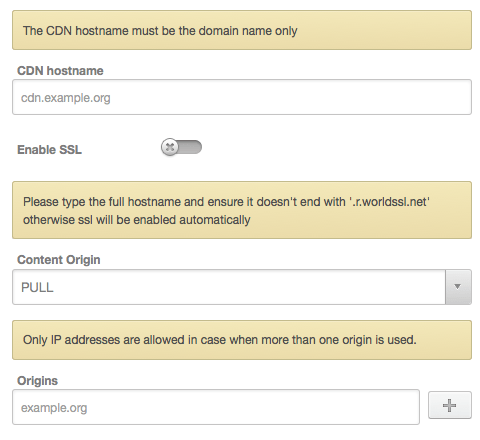
- Select Next
- Select which locations you would like your CDN to be enabled in
There is nothing wrong with selecting all locations - a user will always be directed to the closest of your selected choices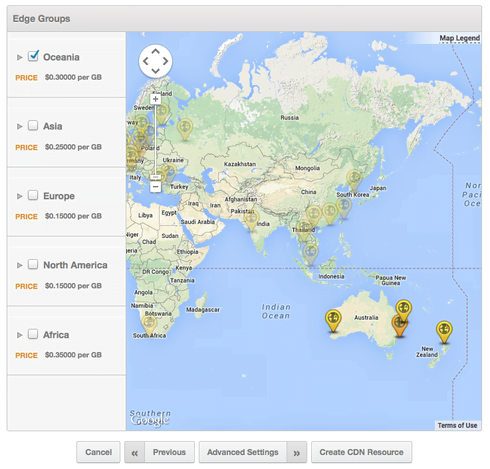
- Select Create CDN Resource
- It can take a few minutes for the CDN to become active. While you wait, please note the Raw CDN hostname on the proceeding page
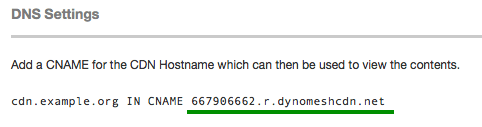
It will always be the format ofxxxxx.r.dynomeshcdn.net, unless you are using SSL, in which case it will end inworldssl.netfor shared SSL.
Configure the CDN in WordPress
You'll need to configure the CDN in WordPress using the CDN plugin of your choice. Many caching plugins also have CDN functionality. We'll be using the W3 Total Cache plugin for this example.
- Install the W3 Total Cache plugin in the plugins area of WordPress dashboard
- Activate W3 Total Cache
- Navigate to W3 Total Cache > Performance -> General Settings menu item
- Choose the CDN tab from the top menu bar
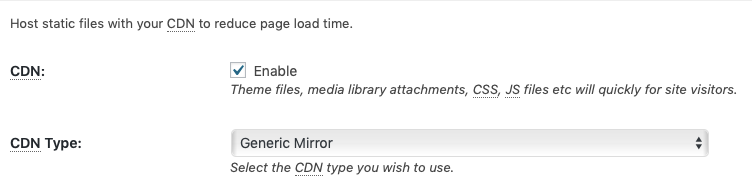
- Click Enable, then choose Generic Mirror from the CDN Type list. Click Save All Settings
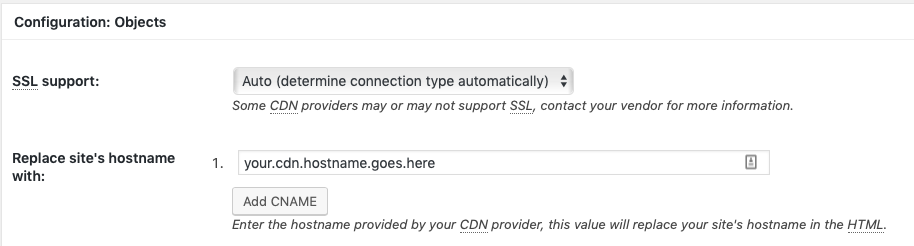
- Navigate to the Performance -> CDN page. Scroll down to the Configuration section, and fill out the section as displayed below, using the CDN Hostname noted previously
- Press Test Mirror and ensure that you get a successful result
- Click Save all settings, and your WordPress site will now be using the Serversaurus CDN!
Last updated November 30, 2023